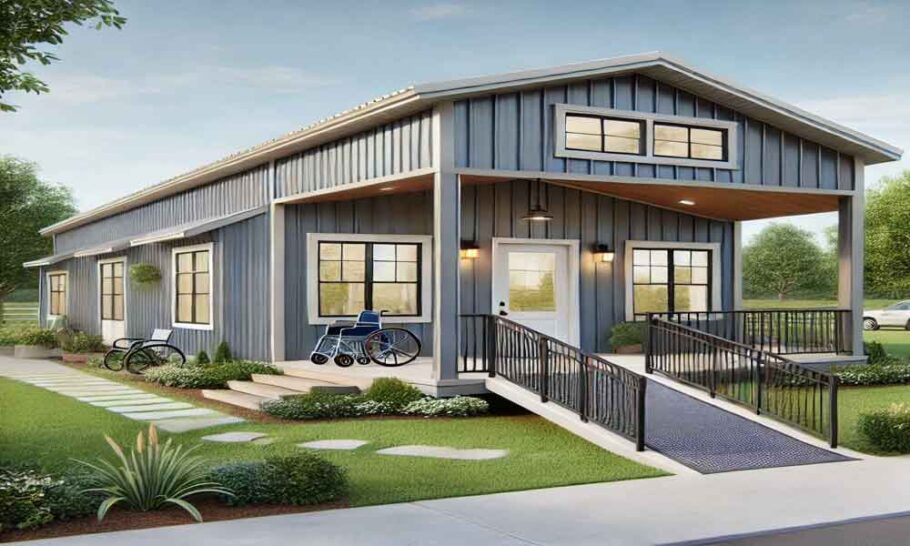
Barndominiums have taken the housing world by storm, offering a unique blend of practicality, affordability, and customization. For DIY enthusiasts, barndominiums present a golden opportunity to tackle a rewarding project that combines construction simplicity with significant cost savings. Whether you’re a seasoned DIYer or someone eager to try their hand at a substantial project, barndominiums are the perfect choice. Here’s a step-by-step guide to understanding why and how you can embark on this exciting journey.
Why Barndominiums Are Perfect for DIY Builders
- Simplicity of Construction
Barndominiums are often built using metal frames and pre-engineered kits, which are much simpler to assemble compared to traditional home construction. The straightforward design eliminates the need for complex framing, and the process is more intuitive for beginners.
- Pre-Engineered Kits: Many companies offer barndominium kits that come with pre-cut materials, instructions, and all necessary components, reducing the guesswork.
- Fewer Materials: With fewer structural materials required than conventional homes, barndominiums are easier to manage and assemble.
- Minimal Excavation: The foundation work is simpler, often consisting of a concrete slab, which is easier to pour and level compared to traditional basements or crawlspaces.
- Cost Savings
Building a barndominium yourself can save you tens of thousands of dollars. Here’s how:
- Labor Costs: By doing much of the work yourself, you eliminate the need to hire contractors for basic tasks.
- Affordable Materials: Steel and metal are cost-effective, durable, and low-maintenance materials.
- Energy Efficiency: Barndominiums are easy to insulate, leading to long-term savings on heating and cooling.
- Reduced Time: Thanks to pre-engineered kits, construction timelines are shorter, further cutting costs.
- Customization Opportunities
Barndominiums offer unmatched flexibility in design, allowing you to create a home that meets your exact needs and tastes:
- Open Floor Plans: You can easily customize the interior layout to suit your lifestyle.
- Multi-Use Spaces: Combine living areas with workshops, storage, or hobby spaces.
- Expandable Design: Start with a smaller footprint and expand as needed.
- Learning and Satisfaction
For many DIY builders, the process itself is the reward. Constructing your own barndominium allows you to:
- Develop Skills: Learn valuable skills like framing, plumbing, and electrical work.
- Create Memories: The experience of building your own home is a source of pride and accomplishment.
- Personal Touch: Every detail reflects your effort and vision, making the home uniquely yours.
Step-by-Step Guide to Building a Barndominium as a DIY Project
Step 1: Planning and Permits
- Research Local Regulations: Check zoning laws, building codes, and permit requirements in your area.
- Set a Budget: Determine how much you’re willing to spend on materials, tools, and any professional help.
- Design Your Layout: Use online tools or consult with an architect to create a floor plan that suits your needs.
Step 2: Purchase a Barndominium Kit
- Choose a Reputable Supplier: Look for companies that offer comprehensive kits with clear instructions.
- Select the Right Size: Consider your lot size, budget, and future needs when choosing the dimensions.
- Customize Features: Many kits allow you to select colors, finishes, and additional options like windows or porches.
Step 3: Prepare the Site
- Clear the Lot: Remove any vegetation, debris, or obstacles from the construction area.
- Lay the Foundation: Pour a concrete slab foundation, ensuring it’s level and properly cured.
- Install Utilities: Plan for water, electricity, and sewage connections before assembling the structure.
Step 4: Assemble the Structure
- Frame the Building: Use the pre-engineered kit to erect the metal frame. This step usually involves bolting or welding components together.
- Add Exterior Panels: Attach metal siding and roofing panels, ensuring they are properly secured and weatherproofed.
- Install Windows and Doors: Fit pre-designed openings with windows and doors from your kit or sourced locally.
Step 5: Interior Build-Out
- Insulate the Walls: Use spray foam, batt insulation, or rigid panels to create an energy-efficient home.
- Install Plumbing and Electrical: Run pipes and wiring according to your layout, and hire professionals for final connections if needed.
- Finish Walls and Floors: Choose materials like drywall, wood paneling, or concrete flooring for a polished interior look.
Step 6: Personalize Your Space
- Paint and Decorate: Select colors and finishes that match your style.
- Add Furniture: Opt for multifunctional furniture to maximize space and functionality.
- Landscaping: Create outdoor spaces that complement your barndominium, like patios or garden beds.
Tips for a Successful DIY Build
- Start Small: If this is your first DIY project, consider starting with a smaller barndominium to gain confidence.
- Invest in Quality Tools: Having the right tools can make the construction process smoother and more efficient.
- Ask for Help: Don’t hesitate to enlist friends, family, or local experts for assistance with challenging tasks.
- Follow Safety Protocols: Wear protective gear and ensure your site complies with safety standards.
Conclusion
Building a barndominium as a DIY project is an exciting, rewarding experience that combines cost savings, personal satisfaction, and creative freedom. By taking advantage of the simplicity of construction, affordable materials, and flexible design options, you can create a home that’s not only functional but also uniquely yours. With careful planning and a step-by-step approach, your dream barndominium is well within reach. So roll up your sleeves, grab your tools, and start building!

