Barndominiums are known for their durability, open layouts, and affordability, but they also provide an excellent foundation for renewable energy systems. Installing solar panels on a barndominium is one of the smartest upgrades you can make. It reduces electricity costs, increases energy independence, and boosts property value while making your home more eco-friendly.
This guide will walk you through everything you need to know about installing solar panels on a barndominium, from planning and design to mounting, wiring, and system maintenance.
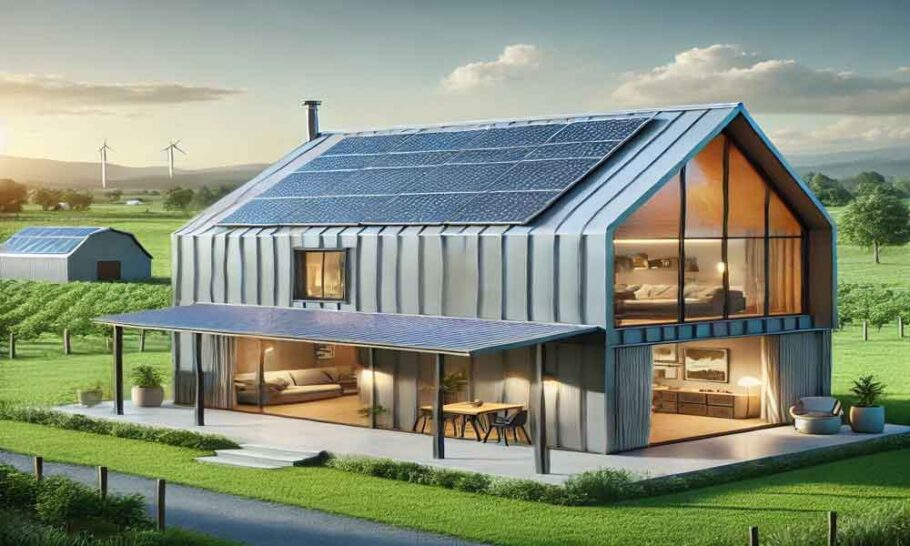
Why Solar Panels Are Perfect for Barndominiums
Barndominiums are uniquely suited for solar energy systems for several reasons:
Large roof surface areas provide plenty of space for panel arrays
Metal roofing is highly durable and ideal for mounting racking systems
Open land around barndominiums allows for ground-mounted systems if needed
Rural locations often benefit the most from energy independence
Solar installations can significantly reduce dependence on grid power, particularly for barndominiums located in remote or off-grid areas.
Step 1: Evaluate Your Solar Potential
Before you install anything, you need to determine whether your barndominium is suitable for solar.
Sun Exposure and Orientation
The ideal roof section faces south (in the Northern Hemisphere) with minimal shading. East- and west-facing roofs can also work but with slightly reduced efficiency. Walk your property and observe potential shading from trees, nearby buildings, or terrain.
Roof Condition
Inspect the metal roof to ensure it is structurally sound and free of rust, leaks, or loose fasteners. If the roof is older than 10–15 years, consider replacing or reinforcing it before installing solar.
Energy Usage Assessment
Review your past electric bills to determine your average monthly and yearly electricity consumption. This will help you size the solar system correctly.
Step 2: Choose the Right Type of Solar System
Not all solar systems are the same. Your location and goals will determine which system fits your barndominium best.
Grid-Tied Systems
These systems connect to the local power grid. You can draw power when solar production is low and send excess power back to the grid if net metering is available.
Off-Grid Systems
These are completely independent and rely on battery banks to store excess power. They are ideal for remote barndominiums.
Hybrid Systems
Hybrid systems combine grid connection with battery storage, giving you backup power during outages while still benefiting from grid access.
Step 3: Design Your Solar Panel Layout
Once you’ve chosen the system type, layout planning begins.
Calculate System Size
Divide your annual kWh usage by the estimated annual solar production in your region to determine how many panels you’ll need. Most systems range from 5 kW to 15 kW for residential homes.
Plan Roof Layout
Lay out panels in rows with enough spacing to prevent shading and allow airflow. Barndominium metal roofs often use standing seam designs, which make mounting easier without drilling through the roof surface.
Choose Mounting Method
You can use:
Roof-mounted rack systems
Standing seam clamps (ideal for metal roofs)
Ground-mounted racking if roof space is limited
Step 4: Gather Materials and Tools
A typical barndominium solar installation requires:
Solar panels
Racking and mounting hardware
DC wiring and connectors
Inverter (string inverter or microinverters)
Combiner box
Disconnect switches
Conduit and junction boxes
Monitoring system
Safety gear (harness, gloves, eye protection)
Having all materials ready before starting saves time and reduces errors.
Step 5: Install the Mounting System
The mounting system forms the foundation of your solar array.
Locate Roof Rafters or Purlins
Use a stud finder or building plans to identify structural members. Mounts should attach directly to these for maximum strength.
Attach Roof Mounts or Clamps
For standing seam metal roofs, use non-penetrating seam clamps. This method preserves roof integrity and prevents leaks.
Install Rails
Aluminum rails are secured to the mounts and aligned to ensure panels will sit flat and evenly spaced.
Double-check alignment and measure spacing before moving forward.
Step 6: Install the Solar Panels
Now comes the visible part of the project.
Lift Panels Safely
Solar panels are heavy and fragile. Use lifting equipment or work with a partner.
Secure Panels to Rails
Use mid-clamps and end-clamps to lock each panel into place. Make sure torque specifications are followed to prevent movement during high winds.
Leave Wiring Access Gaps
Ensure you can access the underside connections for wiring.
Step 7: Wire the Solar Array
Electrical wiring is one of the most important and sensitive parts of the installation.
Connect Panels in Series or Parallel
Series connections increase voltage, while parallel connections increase amperage. Your inverter type will determine the correct configuration.
Use Proper Solar-Rated Cabling
Only use UV-resistant, outdoor-rated wiring specifically designed for photovoltaic systems.
Install a Combiner Box
This box organizes and protects the wiring before it feeds into the inverter.
Run Conduit
Route wiring through metal or PVC conduit to protect it from weather and pests.
Step 8: Install the Inverter and Electrical Components
The inverter is the heart of the solar system.
Choose a Mounting Location
Install the inverter in a shaded, ventilated area like a utility room or garage inside the barndominium. Keep it away from moisture and direct sunlight.
Install Disconnect Switches
DC and AC disconnects are required for safety and maintenance. These allow you to shut down the system quickly in an emergency.
Connect to the Main Electrical Panel
A licensed electrician should handle this step to ensure compliance with electrical codes.
Step 9: Grounding and Safety Systems
Proper grounding is critical for lightning protection and system safety.
Bond all panel frames together
Install grounding rods if required by local code
Use surge protection devices
Barndominiums with metal roofs require special grounding practices because the roof itself can act as a large conductive surface.
Step 10: Battery Storage Installation (If Applicable)
If you’re using an off-grid or hybrid system:
Install Battery Bank
Lithium-ion or lithium iron phosphate batteries are the most common options for modern systems.
Ventilation Requirements
Batteries should be placed in a temperature-controlled, ventilated area.
Connect Charge Controllers
These regulate how energy flows into the battery system.
Step 11: Inspection and System Testing
Before turning the system on:
Check every electrical connection
Confirm mounting bolts are tightened
Inspect wiring for damage
Verify inverter settings
Your local authority may require an inspection before the system can be activated.
Step 12: Turn On and Monitor the System
Once approved:
Power on the inverter
Connect to the monitoring system
Track daily and monthly energy production
Many modern systems provide mobile apps where you can monitor performance in real time.
Maintenance Tips for Barndominium Solar Systems
Solar panels require minimal maintenance, but regular care maximizes lifespan.
Clean panels every 3–6 months, especially in dusty or rural areas
Inspect mounts and bolts after major storms
Trim nearby trees to prevent shading
Check inverter performance logs
Metal roofs on barndominiums make maintenance easier because they resist rot and weather damage.
Common Mistakes to Avoid
Installing solar panels is a big investment, and mistakes can be costly.
Oversizing or undersizing your system
Ignoring roof load capacity
Poor grounding
Using non-rated wiring
Skipping professional electrical inspection
Avoiding these mistakes ensures your system operates safely for decades.
Cost Overview for Solar on a Barndominium
Costs vary by region and system size, but typical ranges include:
Panels and equipment: Moderate upfront investment
Inverter and battery storage: Higher cost if off-grid
Professional installation (optional but recommended)
Permits and inspection fees
While initial costs may seem high, long-term savings on energy bills often cover the investment within several years.
Final Thoughts
Installing solar panels on a barndominium is one of the best upgrades you can make for energy efficiency, sustainability, and long-term cost savings. The large metal roof surfaces common to barndominiums are ideal for solar panel mounting, and modern systems are more reliable and affordable than ever.
With proper planning, quality components, and professional electrical work, your barndominium can become a clean, self-sustaining home that generates power for decades.
A well-installed solar system not only reduces your carbon footprint but transforms your barndominium into a modern, future-ready home built for both comfort and resilience.